Wednesday, June 3, 2015

My New Clique Kit!

I was so excited when Clique called me from the wait list and said I could start getting subscriptions.  I really like Clique Kits. They come with great papers and embellishments. I especially love the custom made flair and custom 3 x 4 and 4 x 6 cards. They are beautiful.

 I was totally in love with the May Kit. I loved the mix of watercolors with the craft paper. It is called Carnival and is centered around Amy Tangerine's Rise and Shine Collection. I love getting kits because you can get so many of the bits and pieces that sell out so fast on other sites. 


When I first get my kits, I like to take everything out of the packaging. If it's in the package, I'm much less likely to use it. Everything comes out of the package and I get everything all ready to go. 


I also cut the cut-apart sheet into pieces, so they are easy to use and throw on a page. 


Since this kit came with some paint. My thoughts immediately went to painting some of these craft pages. I knew the paint would look great on the craft paper


I added paint to all three of these pages. I really loved the paint in the little triangles. It really made that page really POP


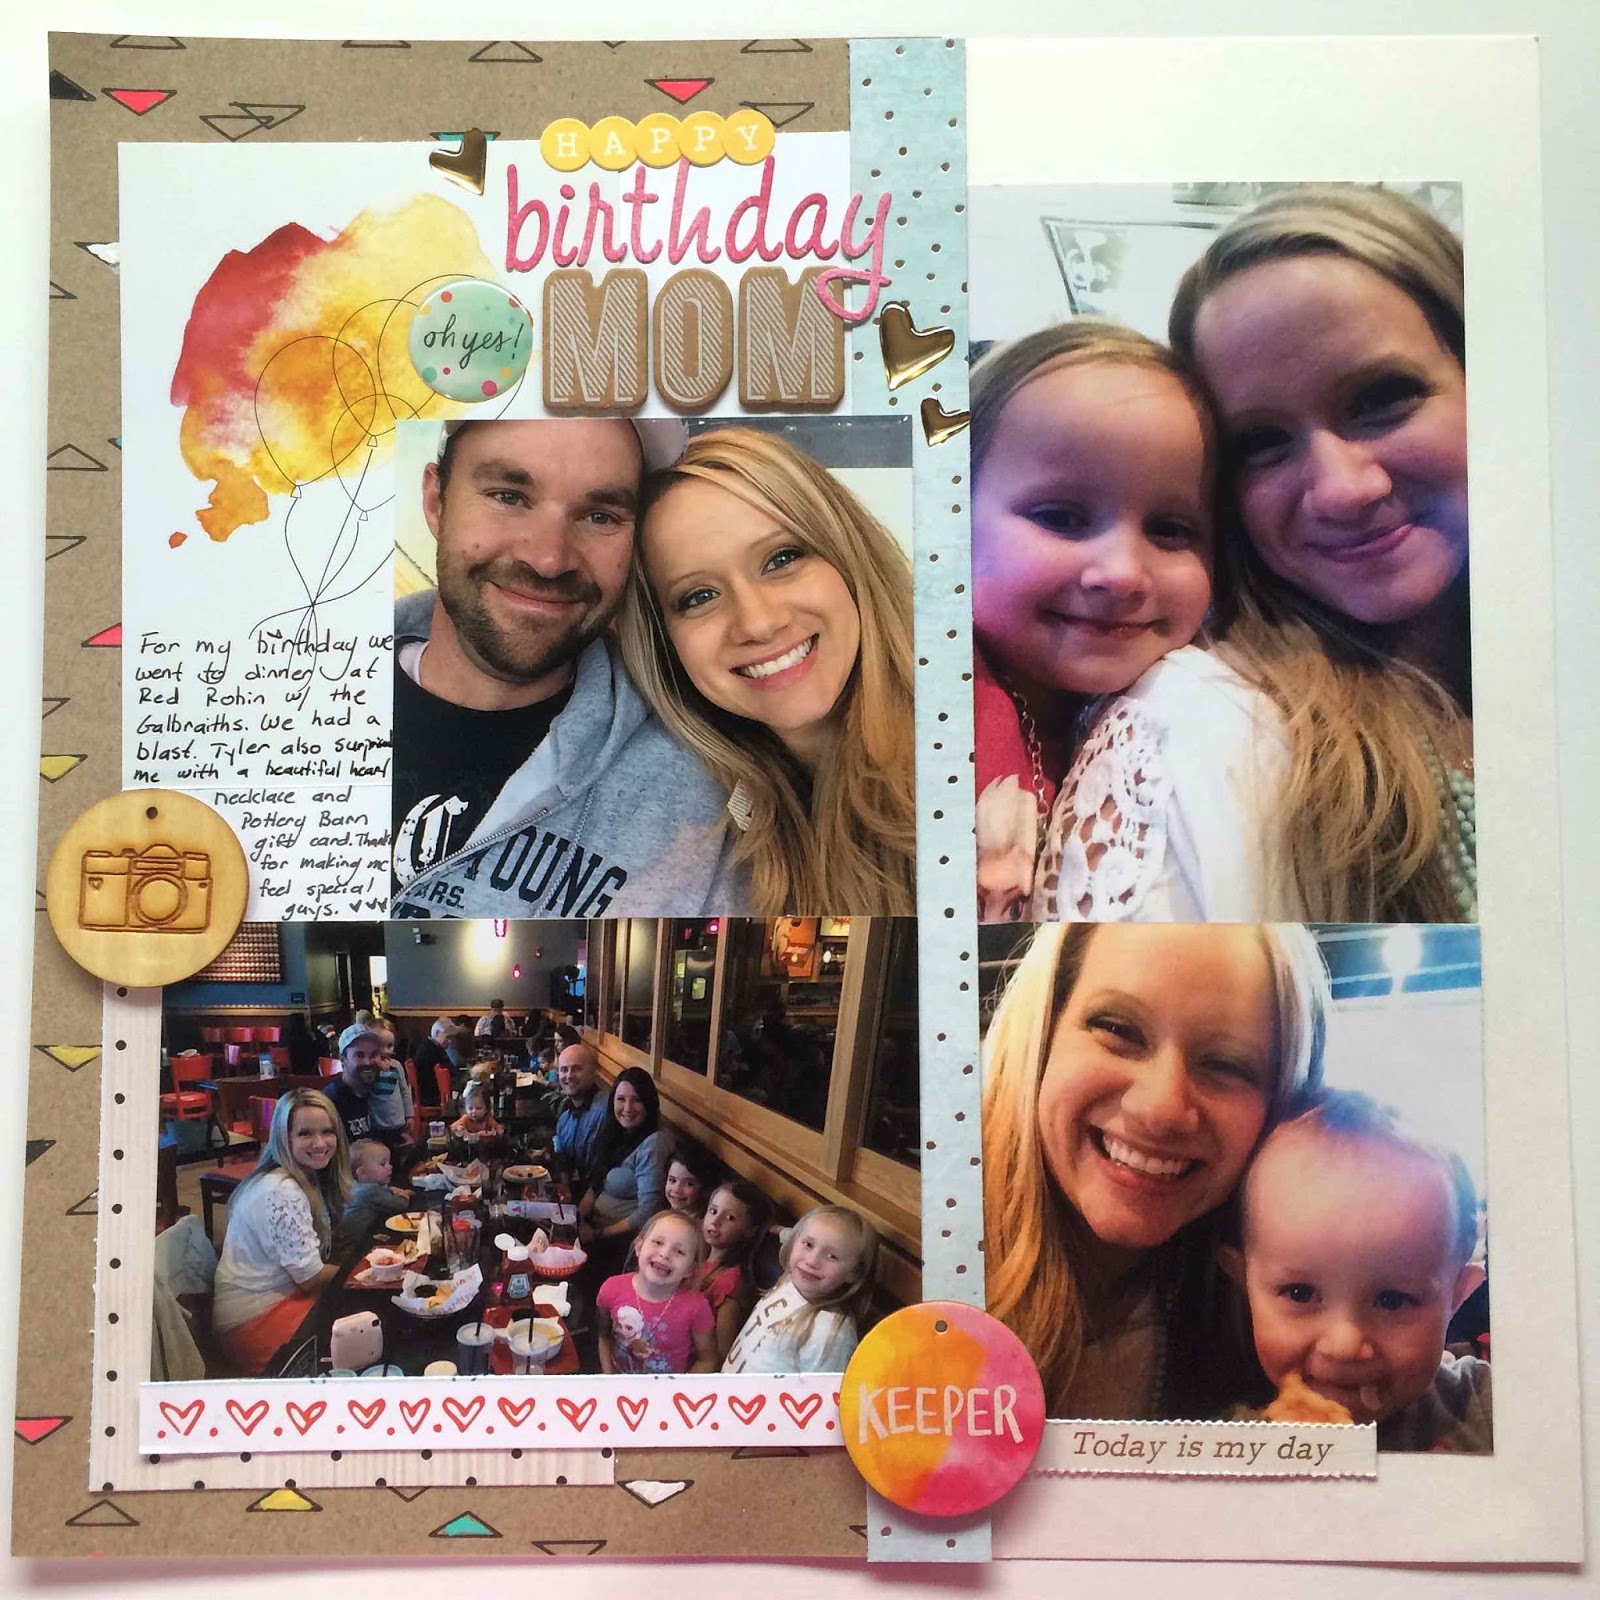
I used the triangle page on this great page from my birthday last month. I also added the balloon watercolor card, which is exclusive to Clique Kits. Then I added some fun embellishments and bits and pieces. I'm so happy with how the bright colors really go with the fun feel of a great birthday party

Happy Birthday Mom. 


Next I was totally drawn to all the bright colors to make a fun summery layout. This layout is all about having ice cream with Grandma. It was a fun simple moment I wanted to document. I love how the layout is so bright and happy. 

With Grammy at Ritas. 


Next, I used some blues and craft paper to document my daughter making bread with her grandpa. I love how the blue and white help it to fee airy and light while the craft paper grounds it. 

Making Bread


Lastly, I made a Paige Evans inspired page. I love how she mixes together so many different patterns and bright colors. I used all my bits and pieces to do some hand cut letters. This was time consuming, but kind of relaxing. It was a little tricky to get all the letter to look right, but it's a very forgiving technic. You want the letters to look handmade. Then I added some fun embellishments to tie the page together. 

I'll Love You Forever


I can't wait for the next Clique Kit!

Tuesday, May 26, 2015

Sewing Away

My sister Jen wanted me to make a quilt for her new baby, but I couldn't start another sewing project until I finished this John Deere Blanket for my little boy Austin.  So the best part about both of these projects is that they are cheater quilts, they were super easy and fast to make. Read along and you'll see how. 


My husband grew up on a farm and has always loved John Deere. After having three girls we both were so excited to have a boy. Tyler wanted to decorate with tractor and farm everything, but I kept it down to a dull roar.


I found this panel at JoAnnes and it was perfect. I couldn't make a cuter quilt if I tried. So I bought the panel (or section of fabric of this pre-made quilt). Then I got some batting, bias tape and cute minky for the back. 


I choose this cute cow print minty to play up the farm feel. I added some hand-sticthing around the letters, just to give it more of a homemade feel. Then I pinned the layers of this quilt together and machine quilted it myself. My plan was to simply stitch around the squares. It was a little challenging, I prefer straight lines! I made it through and then put on a homemade binding and completely messed it up. I messed up the corners, it didn't catch on the other side. It was such a mess!  Sometimes things don't work out, but you just have to try again! I tried unpicking it and ended up hacking the binding to pieces. I was so discouraged. Making binding is a lot of work. So in an attempt to save my sanity, I just bought some black bias tape and it worked great. It's all about getting it done, right? 


Austin was very excited to see the tractors on it and has loved it ever since. I can't believe he's almost two and just now getting his baby quilt. Oh well, better later then never. 


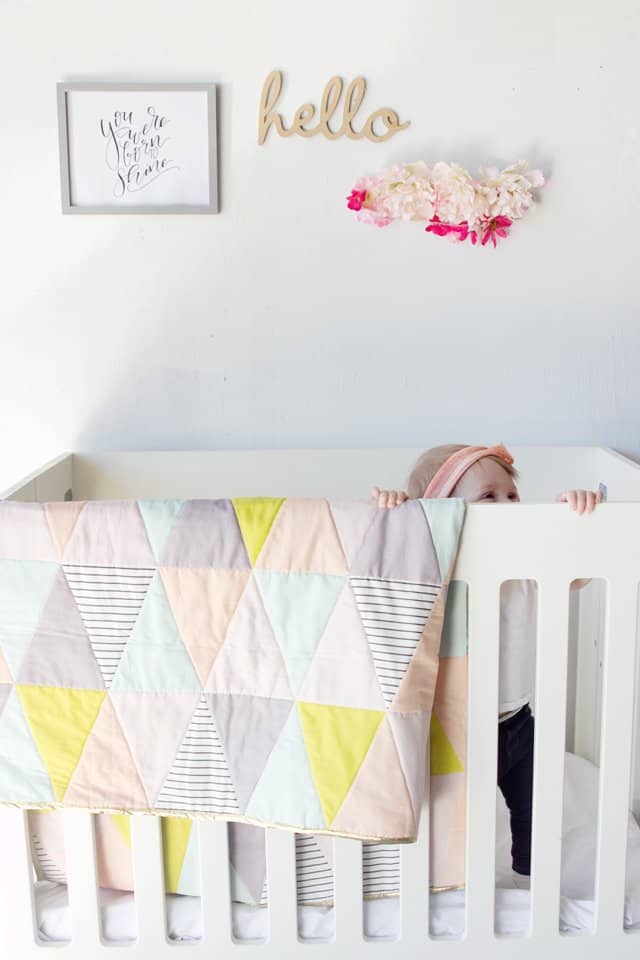
The next quilt I made is the One Hour Triangle Quilt. This tutorial comes from the amazing See Kate Sew. She has amazing sewing tutorials, a Spoonflower shop, lots of sewing patterns and much more. 

One Hour Triangle "Quilt" Tutorial
 For my quilt, I picked out a fun navy minky for the back and used an amazing gold metallic bias tape. It really makes this quilt pop. I just love it. This quilt was super easy to make and I love spray basting. It was one of the greatest tips in this tutorial. Making quilts just got a whole lot easier!!!!


I quilted it myself and it was really easy. You simply sew straight lines and when you are done you have this beautiful triangle pattern on the back. I love triangles, but sewing a regular triangle quilt is very challenging, this is simple, quick and a perfect pattern for beginners. 


I love these quilts, and it's been great to do some sewing again. I can't wait for my little niece to have her sweet baby blanket! 


Wednesday, May 6, 2015

Studio Calico Lisse Street

I was so happy with the fun Spring colors in the Studio Calico Lisse Street Kit. It was so fun that his kit was designed by the wonderful Ali Edwards. I loved the Project Life cards with everyday phrases. I used them both in my scrapbook layouts and in my Project Life Layouts. These Project Life Layouts are of our trip to Arizona for Spring Break. It was so fun. We got to spend time with awesome family and enjoy the sun! We loved it. 

Arizona


This is my next Project Life Layout. I love the coral, mint and green color scheme. It made for a beautiful layout. 

BeYOUtiful 


This is my favorite layout. I love these colors. I was so happy to create this beautiful layout of my sweet darling daughter. She just turned three and is so beautiful. 

Three.


For this layout I used the cool grays and blues to create a fun boy layout. This little boy totally has my heart. He is at such a busy age and I wanted to document that. 

Blissful and Crazy Boy


For this layout I used the rule of thirds to create a colorful fun layout. I love all the bright colors and the warm yellow floral just brought it all together. Looking at this page I can almost feel the Arizona sun again!

Swinging in the Hammock


Arizona

I love how these mint chipboard letters really stand out and make this page pop


Monday, April 13, 2015

Studio Calico March Kit: Odyssey

I was so excited for the masculine colors in this layout. The blues, browns and tans stood out to me right away and made me want to do a boy layout. This brown plus sign paper was my favorite. I added stitched title and stitched plus signs on the left for more interest. 


Since I like doing pages for my kid's books, I want to show you this one page version I did for my daughter Addy. I kept some of the same basic ideas of the plus paper, the stitched plus signs and stitched title. 


This was another layout I did for my daughter. I love the stripes of paper on the right. I was running out of supplies so I had to come up with a new design. I used my scraps for a great layered look. I also love how those quotations give it a punch!


The Studio Calico March Odyssey Kit had a great travel theme. It was fun to use some of those subtle accents on a baby page. I could use things like "Welcome to the World." I also was lucky enough to do a travel theme in preschool last month. Our theme was, "It's a Small World." I was so excited to play up the bright colors. This is the two page design I made for my scrapbook. 


This is the one page design I made for my daughter's book. I added some more pink for her! 


I love these kits and I love doing them each month. What have you done creative this month?