Monday, October 28, 2013

Painted Pumpkins

This is one of my favorite Halloween project I have ever done. It was so easy, relaxing and creative! I love how these pumpkins are unconventional. You have to love the amazing Alisa Burke. Check out her amazing tutorial here.  


I totally used my fingers to paint on the flowers in a variety of colors. 


Then I used my favorite Faber Castell Big Brush pens to add shading. You can buy some here


I had so much fun adding lots of detail in black and white. 


Wednesday, October 23, 2013

Pumpkin Shirts

Sorry I have been gone for a while, but my blog was put on hold while I focused on bringing our next little baby into the world. We are so excited to welcome little Austin to the bunch. He is sweet as can be and we just love him so much. 


Isn't there something about the fall that just makes you want to sew? I don't know about you, but when it's chilly outside, nothing is better then a cozy quilt. I made this simple and wonderful quilt last year and we were so excited to get it out again. 


I also made some cute Pumpkin shirts! I took the leftover scraps of fabric from my quilt and laid them down horizontally, then I sewed vertical lines to adhere the strips together. I sewed the strips to a separate piece of fabric then sewed it to the shirt. I love how this technic left frayed edges to the fabric and I love the character the stitching adds. I did the same idea on my Valentines Day Shirts here. 


See all the detail and fun the stitching adds!


For this shirt I did 3 pumpkins and did some other stitching on them as well. 


Lastly I had to make a little baby outfit, so I followed this tutorial I found on Pinterest. It was so easy and so cute! I would highly recommend giving it a try! You can also follow my Halloween Board on Pinterest here. 


What fall inspired projects are you working on?

Thursday, June 13, 2013

New Girls

I have totally loved Christy Tomlinson's She Art 3 Class. Here's a sneak peak at me working away. I had a blast working on backgrounds in week one, loved adding girls without faces in week 2 and then totally froze when it came to adding a face. I can't paint eyes and a nose!! I could maybe do a mouth, but that's it. Who am I kidding? These are going to look like a kindergardener did them!! It took me a while to get brave enough to add the faces on. Once I did it though it was so freeing. Now I feel like I can do anything!


Here are so girls in progress. Check out my creative journey below.

This is a background I created in my art journal. It felt more safe, trying these girls with faces in there. If I hated it, I could always cover it up. There are no mistakes in art journals. Art journals are for trying new things, playing, discovering, etc. So, I was trying some new things, new colors, new products, etc. This first one is way outside my comfort zone. I never use lime green!! But I love it. It's so fun and bright and the red just brings it all home. I love everything about this background. Do you see the playing card on the left? 


Here are some close ups.


Then I added on the girl. I love her. She is edgy and beautiful. I love her red cheeks and cute trendy top. I love how I kept the word "fly." The playing card became part of her face. I love the blue sun burst in the background. Love her. 

"Grateful for You"


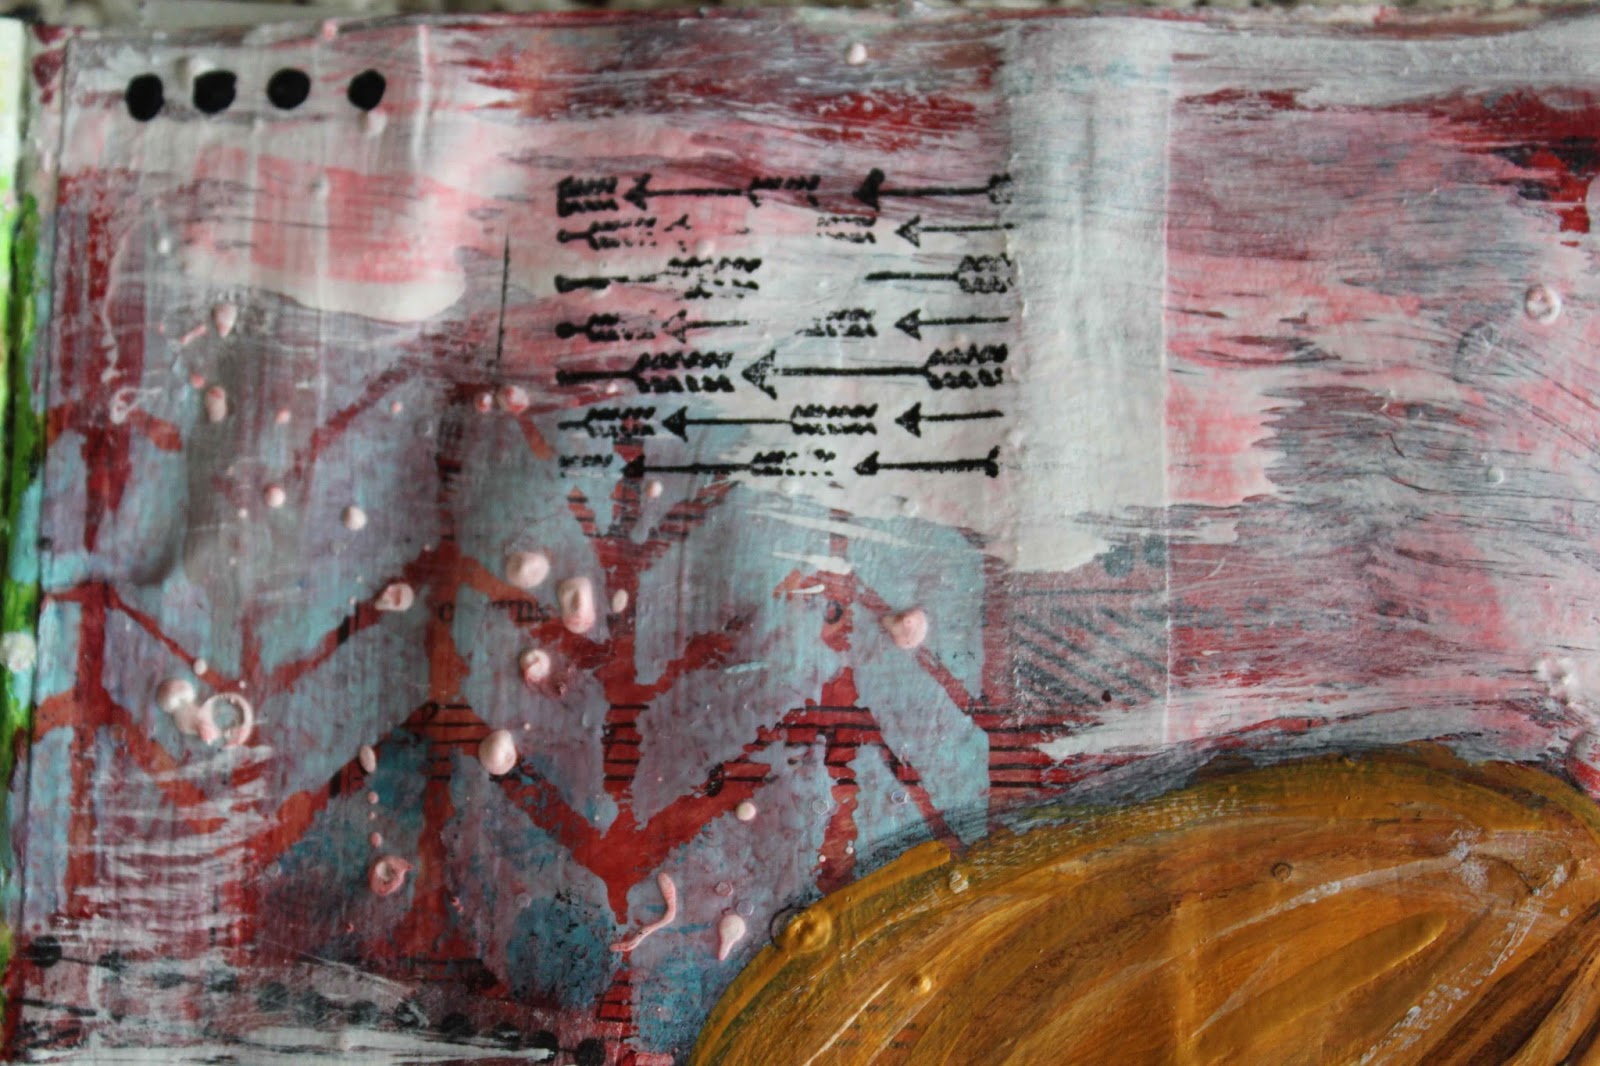
This background was one that I had started a long time ago and had no idea what to do with. The red on the background is an alcohol ink so it was really hard to work over the top of it. I added some soft pinks and blues to soften it up. 


I love my fun new wonky chevron stencil from crafter's workshop!


Here I added some modeling paste for lots of texture and dimension. 

Then I added the girl on top and she did not turn out at all how I imaged her in my head. I think I wanted her to be more dainty. Now I was stuck, what in the world do I do now? Plus the girl covered up a lot of the red in the background (which I loved before) and now the background felt wrong now too.


One of the things Christy talks about in the class is being willing to cover up some of your background so the girl is the focus. So I held my breath and painted white all over the background and I felt like it helped her to pop out. 


After that she sat for a little. I still wasn't sure how to fix her, plus faces are scary right? After watching lots of videos and practicing some eyes in my journal, I dove in and painted on the face. And now I really like her. I love how the soft blue became more of the focus of this piece. She's not perfect, but I like her that way. I love her bright blue eyes. 

This girl was inspired by me. That's probably why she was so hard and I struggled with her the most. I didn't know what I wanted her to say. I feel like I can finally see some of myself in her. A desire to be strong, a girl who's kind of soft and quiet, relying on good friends. Yep, that's me right now. 

"A Good Friend Can Make all the Difference"


So much fun. I really feel like I'm growing as an artist and learning new things. I have so much I want to work on and explore when it comes to my art. It's funny how doing something you never though you could do, like painting faces, is so freeing. I feel so much braver and wiling to try new things. If there is something holding you back, conquer it. Be brave. Work on something new you didn't think was possible. Chances are you can do it and you will feel so free when you do. 


Tuesday, April 9, 2013

Butterfly Canvases by the Girls


When ever I sit down to paint, my sweet little girls come visit me in my craft room and I hear the familiar phrase, "Can we paint too?" They have their own little easel with nice kid friendly washable paint, but what fun is that? They want to use all mom's cool stuff!!! Normally I'll tell them they can watch or I'll say, "not today girls." But I set up some special time to paint together, just me and them. 

I had this idea of doing some 3D butterflies. The girls were so excited. So I gave them some craft paint and a canvas and I let them paint whatever they wanted. It's so fun to share something I love with them.   We just took it step by step. Once one thing was done, I'd say, I have an idea, let's try this. And we'd do it together. They turned out amazing!!!


After painting the canvas, we used a stencil and some sprays (which you can find in the scrapbook section),  and sprayed the butterflies. I let them pick what ever stencils and colors they wanted. I wanted this canvas to be pure fun and I wanted it to be whatever they wanted it to be. 


After using the sprays on the butterflies (which I just free hand cut myself out of card stock), I let them put some paint on the edges so they would really stand out. At first I thought we'd do the same color as the spray, but the girls wanted to do all different colors and I liked it even better. 


I let them use their fingers to paint, that's the way I like to do it. 


Then I hot glued the butterflies onto the canvas with the wings up, so it's more dimensional. 


Then I gave the girls my markers and let them color all over the canvas and butterflies. 


The butterflies didn't look quite right, so I took some book paper and rolled it up and hot glued it on as the body of the butterfly. Much better. 


Then I let the girls use my stamps and stamp on the canvas and on the butterflies for some extra texture. They were loving all the different steps and getting to use all mom's cool stuff. 


Lastly, I added doodling and some letter stickers with a little quote. I love that it's the perfect combination of their own art with a little finishing touch from mom. 


lots of fun doodling


Fly Higher


Dream Big


They turned out amazing. Great job girls!